Within this guide, we aim to outline and demonstrate how you can access your Virtual Server's control panel in order to manage your service along with various other functions.
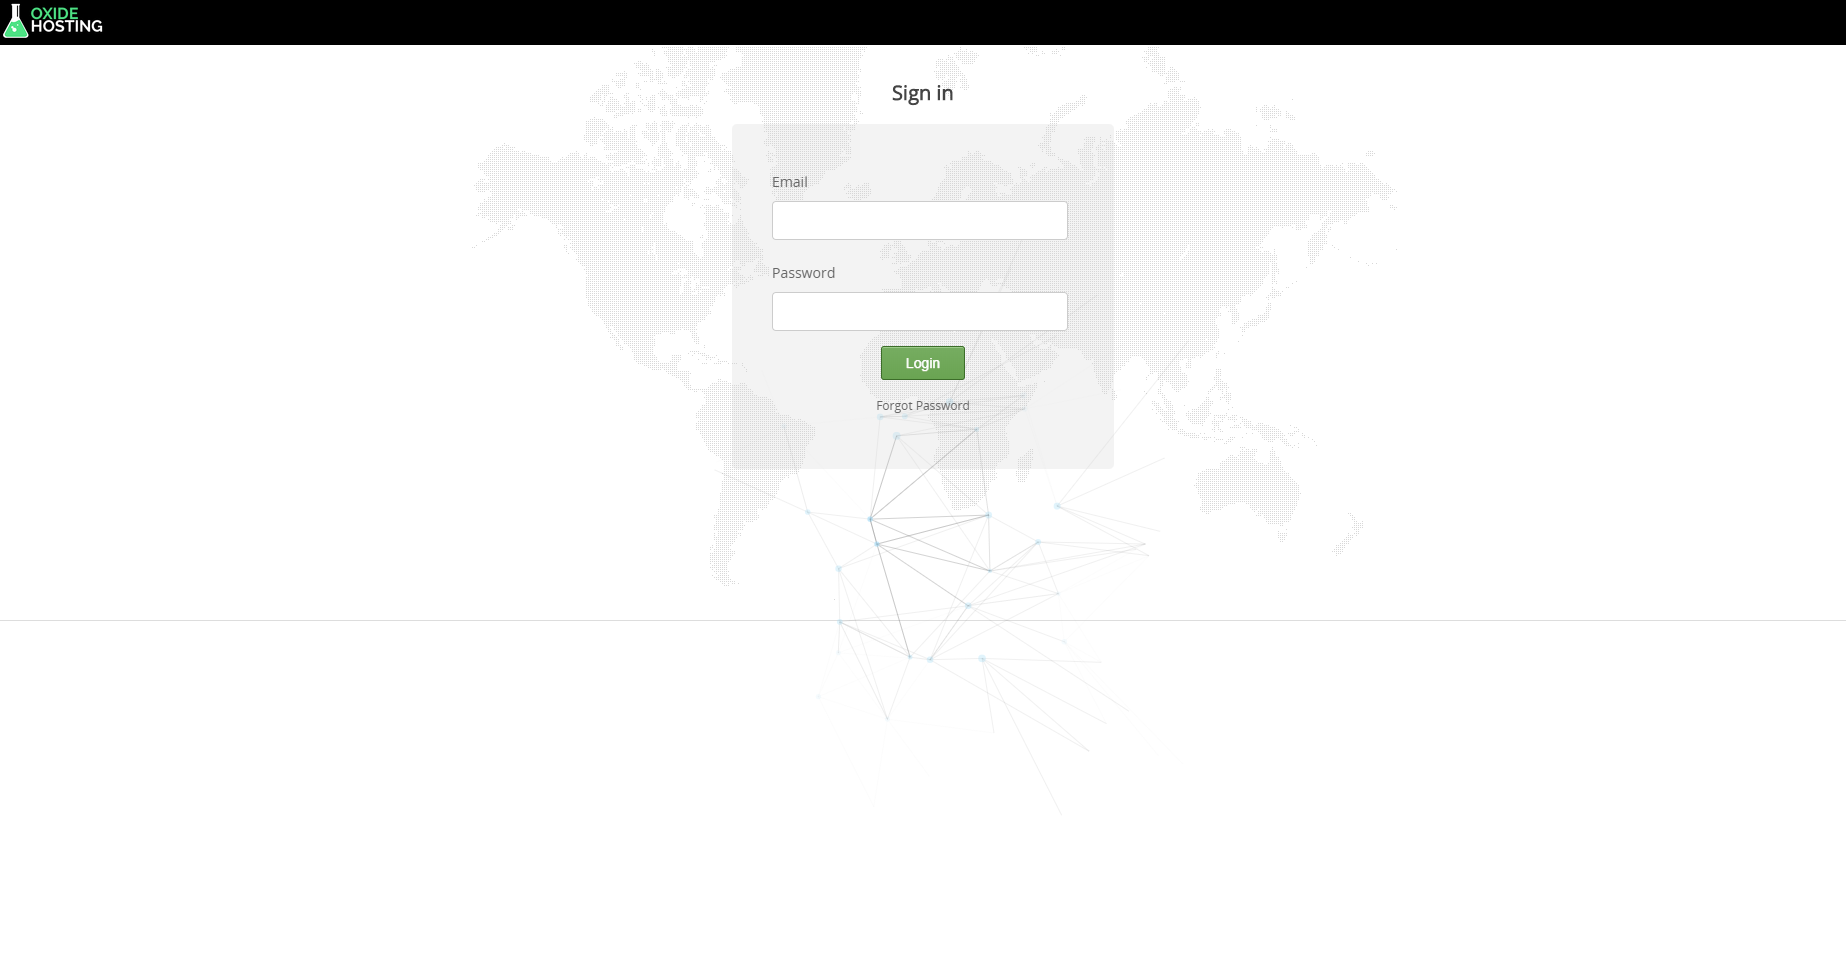
1. You must firstly navigate to the Virtual Servers control panel (Virtualizor) by clicking here, you should see the following displayed:

2. Once you have navigated to the Virtual Servers control panel, locate the product's welcome email (email subject: 'Oxide Hosting | Virtual Servers - Deployment [Information]'). This will provide the necessary information to login.
3. Once you have located the mentioned email, fill the 'Email' and 'Password' field accordingly (using the information provided within the mentioned email under the 'Control Panel' section).
4. Once successfully logged in, you will be redirected to the dashboard. Here you can control, modify and edit your service how you desire. If you have complications logging in, please attempt the password reset procedure by clicking here or contact our support team.
