Within this guide, we aim to outline and demonstrate how you can make use of our various one-click installation options available for all Linux based Virtual Servers (VPS).
1. You must firstly navigate to your control panel, then your server; you can see more information on accessing your control panel by clicking here. Navigate to the 'Install' option then 'Recipes' as shown.
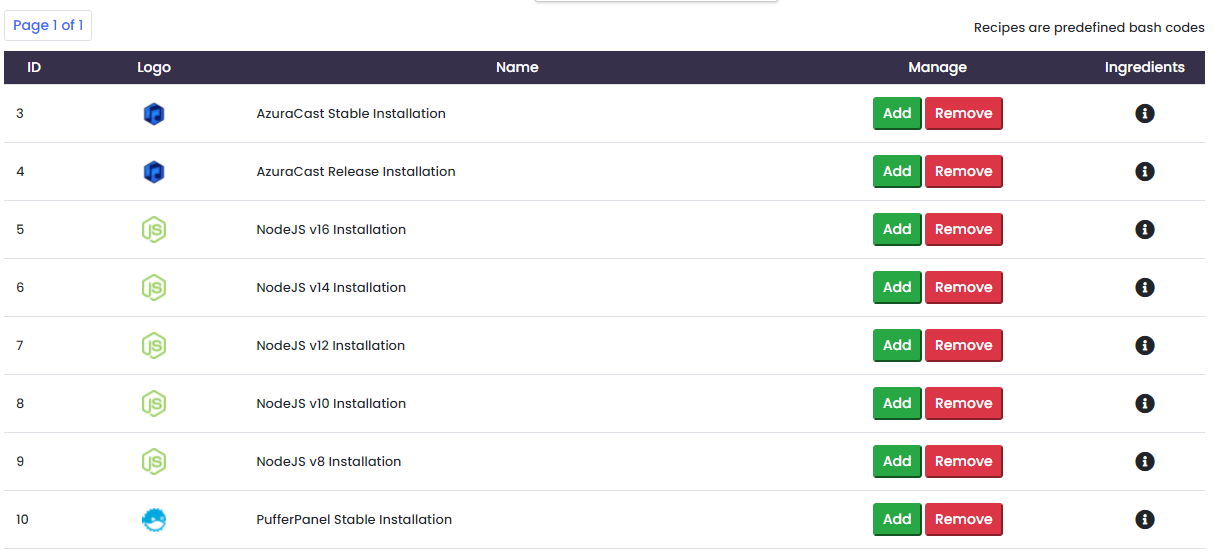
We've included a list of all one-click installers available, this list should always be up to date as of the time of reading this article, we've included also whether additional steps are required to use these installers:
- AzuraCast Stable and Release Installations (additional steps required following installation),
- NodeJS v16, v14, v12, v10, v8 Installations (no additional steps required following installation),
- PufferPanel Stable Installation (additional steps required following installation),
- Pterodactyl Stable Installation (no additional steps required follow installation),
- Docker Stable Installation (no additional steps required following installation).
- Pritunl Stable Installation (additional steps required following installation).
- Image Delivery Server (ShareX) Installation (additional steps required following installation).
- MongoDB v5.0 and v4.4 Installations (no additional steps required following installation),
2. You must ensure that the following requirements are met for the one-click install to function, each install is listed below along with all the necessary requirements in terms of which operating systems etc.
AzuraCast Stable and Release Installation -
   Operating System: Ubuntu 20.04/18.04/16.04, Debian 10/9.

NodeJS v15-v8, MongoDB v5.0-v4.4 and Docker Stable Installation -
   Operating System: Ubuntu 20.04/18.04/16.04, Debian 10/9, CentOS 8/7, Fedora 32.

PufferPanel Stable Installation -
   Operating System: Ubuntu 18.04/16.04, CentOS 7 (other operating systems may work; untested).

Pterodactyl Stable and Image Delivery Server (ShareX) Installation -
   Operating System: Ubuntu 20.04/18.04, Debian 10/9.
   Hostname: Your set hostname must be a valid domain or sub-domain routed to your server's IPv4 address.

Pritunl Stable Installation -
   Operating System: Ubuntu 20.04/18.04/16.04, Debian 10/9, CentOS 8/7, Fedora 32.
3. You must then click 'Add' next to the auto-installer you wish to use, then select 'Execute' next to the 'Recipes Group' input area for the auto-installer to run. This should look as follows:

4. You will now need to stop your server (do not use the power-off/down option) then start your server (do not use restart) as this will not trigger the installation..
5. Allow for some time for the auto-installer to complete; we recommend at least ten minutes on most scripts; some may take longer so simply check back regularly (maximum of fifteen minutes for all).
6. Some of our scripts require additional steps to be completed following their usage, this is simply to allow you to configure your service how you wish; please see below the guide for each one-click installer. We haven't included one-click installers which do not require additional steps below. You may need to connect via SSH to your service for certain follow-on steps; please click here for further information on doing this.
AzuraCast Stable and Release Installation -
   Navigate to your server's IPv4 address or if you have a domain/sub-domain routed to the server's IPv4 adddress; use that via a website browser (such as Chrome or FireFox). You will be prompted to configure your application as you wish, follow all prompts displayed; see this guide for further details if required: https://www.azuracast.com/administration/system/initial-setup.html

PufferPanel Stable Installation -
   Connect to your server via SSH; execute the following command: pufferpanel user add (enter details as prompted). Once complete, navigate to your server's IPv4 address via a website browser (such as Chrome or FireFox) using the port 8080 (e.g. https://127.0.0.1:8180). Please see this guide for further details if required: https://docs.pufferpanel.com/en/latest/installing.html#starting-the-panel
7. If you are utilising our Pterodactyl Stable Installation option; please follow the additional steps below which outline how to secure your installation and how to get started with such.
The above YouTube video is now out of date as per the 29th June 2021, this will be updated as soon as possible. The below information is up to date.
7.1. You must firstly navigate to your server's hostname (a DNS record to the server's IPv4 address should already exist) for this and login using the username 'admin' and password 'admin'.
7.2. You must amend your accounts login information using the person icon or by navigating to '/account' after your server's hostname to fully secure your installation as all make use of the default login details.
7.3. You may then create your first server using the administrative section (the cogs icon or by navigating to '/admin'); our new installer version completes every step for you before this point.
7.4. In the event you need to work on your server beyond the default installer; all the login information set during the installation is recorded to a file located at: /root/pterodactyl-installer-information.txt (accessible via SFTP or SSH).
8. If you are utilising our Pritunl Stable Installation option; please follow the additional steps below which outline how to get started with this application and issue your first VPN profile configuration.
9. If you are utilising our Image Delivery Server (ShareX) Installation option; please follow the additional steps below which outline how to validate your installer is working and what ShareX settings is required.
9.1. You must firstly ensure you've installed ShareX and got the client open, navigate to the 'Destinations' option followed by 'Destination Settings' then locate the 'FTP / FTPS / SFTP' option from the list.
9.2. You must now select the 'Add' option next to the accounts dropdown option, you'll be prompted to enter all the details of your Virtual Server (VPS), most of which are the SSH details of your service. We'll include a sample configuration below:
Name: (this is purely preference to identify where you are uploading to)
Protocol: SFTP
Host: (server's IPv4 address e.g. 51.210.137.99)
Port: 22 (this is your SSH port, if changed please use your custom SSH port)
Username: root
Password: (this would have been sent via your deployment email unless changed)
Remote Directory: /var/www/cdn/
URL Path: (please enter your service's hostname with 'https://' selected from the dropdown)
9.3. You can now use the 'test' option to validate your configuration, if everything comes back normally (should say 'Connected!') close all windows and return to the primary screen.
9.4. You must now change your default uploader settings, this is done by selecting 'Destinations' from the left-hand navigation option, you can change the specific uploader depending upon file type; to locate the Image Delivery Server configuration we just created, select 'File uploader' followed by 'FTP'. You should now be able to take screenshots as usual and they should automatically upload.
